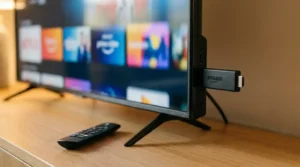
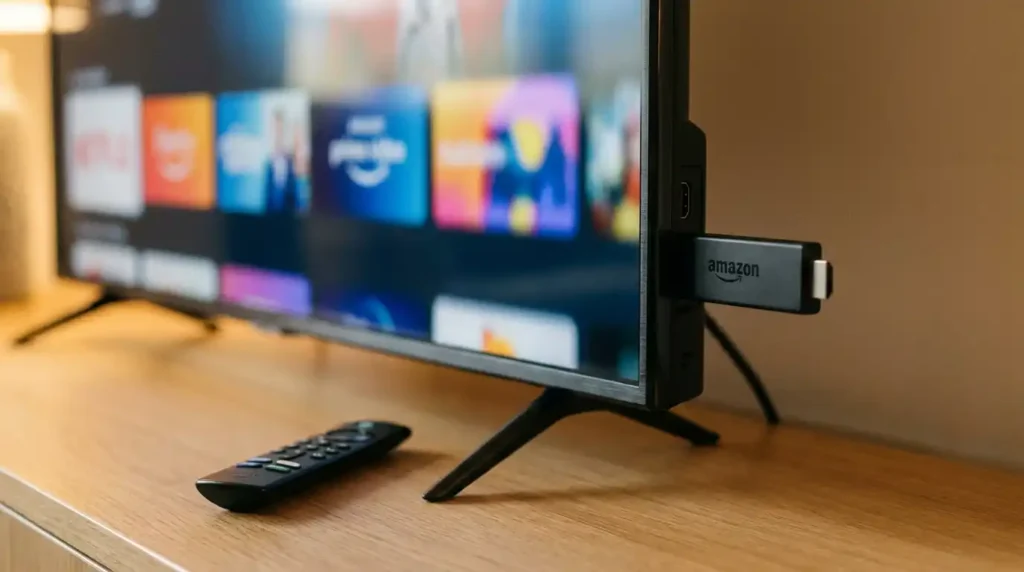
The Amazon Firestick is the most popular device for IPTV streaming, and there’s a good reason for that. It’s cheap, small enough to toss in a bag, and powerful enough to handle HD and 4K content without breaking a sweat. Millions of people worldwide use IPTV on Firestick as their primary way to watch live TV, sports, movies, and shows.
But if you’ve never set it up before, the process can feel confusing. Side-loading apps, enabling developer options, entering Xtream Codes… it sounds technical. It’s really not.
This guide walks you through every step from plugging in your Firestick to watching your first channel. No technical background needed. Just follow along and you’ll be streaming within 10 minutes.
What You Need Before Starting
Before you touch any settings, make sure you have three things ready.
A Firestick connected to your TV and WiFi. Plug the Firestick into an HDMI port, connect the USB power cable, and follow the on-screen setup to connect to your home WiFi network. If you haven’t done this yet, Amazon’s Fire TV setup guide walks you through it in a few minutes.
An active IPTV subscription. You’ll need credentials from your IPTV provider. This comes in one of two formats: an M3U playlist URL (a long web link) or Xtream Codes (a server address, username, and password). Your provider sends these to you after you sign up, usually by email or WhatsApp.
A stable internet connection. IPTV needs consistent bandwidth to stream smoothly. A minimum of 25 Mbps handles HD content well. For 4K streaming, aim for 50 Mbps or higher. Not sure if your connection is fast enough? Test it with our Internet Speed Test for Streaming before you start.
Once you have all three, you’re ready to go.
Which Firestick Is Best for IPTV?
Amazon sells four Firestick models in 2026, and the one you pick matters for IPTV performance. Here’s a quick breakdown.
Firestick Lite is the budget option. It handles HD streaming (1080p) just fine but can’t do 4K. The processor is a bit slower, so heavy EPG loading and app switching feel sluggish. Good for a bedroom TV or a second screen where you don’t need top performance.
Firestick 4K is the best value pick for most IPTV users. It supports 4K Ultra HD, HDR10+, and Dolby Vision. The processor is noticeably faster than the Lite, and 1.5 GB of RAM keeps apps running smoothly. If you’re buying one Firestick specifically for IPTV, this is the one to get.
Firestick 4K Max adds WiFi 6 support on top of everything the 4K model offers. That’s a real advantage if you live in an apartment building with lots of competing WiFi networks, or if your router sits far from your TV. The improved wireless stability helps reduce buffering during peak hours.
Fire TV Cube is the premium option. It has a built-in Ethernet port (no adapter needed), 2 GB of RAM, and the fastest processor in the lineup. Best for power users who want the smoothest possible experience, especially with large IPTV channel lists and heavy EPG data.
For most people, the Firestick 4K hits the right balance between price and performance. Spend the extra money on the 4K Max only if WiFi stability is a concern in your home.
Not sure which device fits your setup? Check our IPTV Device Compatibility Checker to see what works best for your situation.
Step-by-Step IPTV on Firestick Setup
Follow these five steps exactly. The whole process takes about 10 minutes.
Step 1 — Enable Apps from Unknown Sources
Firestick doesn’t allow app installations from outside the Amazon App Store by default. You need to enable this setting first because most IPTV player apps aren’t available on the official store.
Go to Settings on your Firestick home screen. Select My Fire TV. Then select Developer Options. Find the toggle for Install Unknown Apps or Apps from Unknown Sources and turn it ON.
If you don’t see Developer Options in the menu, go to Settings > My Fire TV > About > Fire TV Stick and click on it seven times quickly. A message will confirm that Developer Options are now enabled. Go back to the previous menu and the option will appear.
This setting simply allows you to install apps manually. It doesn’t affect your Firestick’s security in any meaningful way, and you can turn it off again after installing your IPTV app if you prefer.
Step 2 — Install the Downloader App
The Downloader app is your tool for side-loading IPTV players onto the Firestick. It’s free, safe, and available directly from the Amazon App Store.
From the Firestick home screen, go to the search bar and type “Downloader.” The app with the orange icon should appear at the top of the results. Select it and click Install.
Once installed, open Downloader. It will ask for permission to access files on your device. Allow it. You’ll see a simple browser-like interface with a URL bar at the top.
That’s all you need. Downloader is ready to fetch your IPTV player app in the next step.
Step 3 — Install Your IPTV Player App
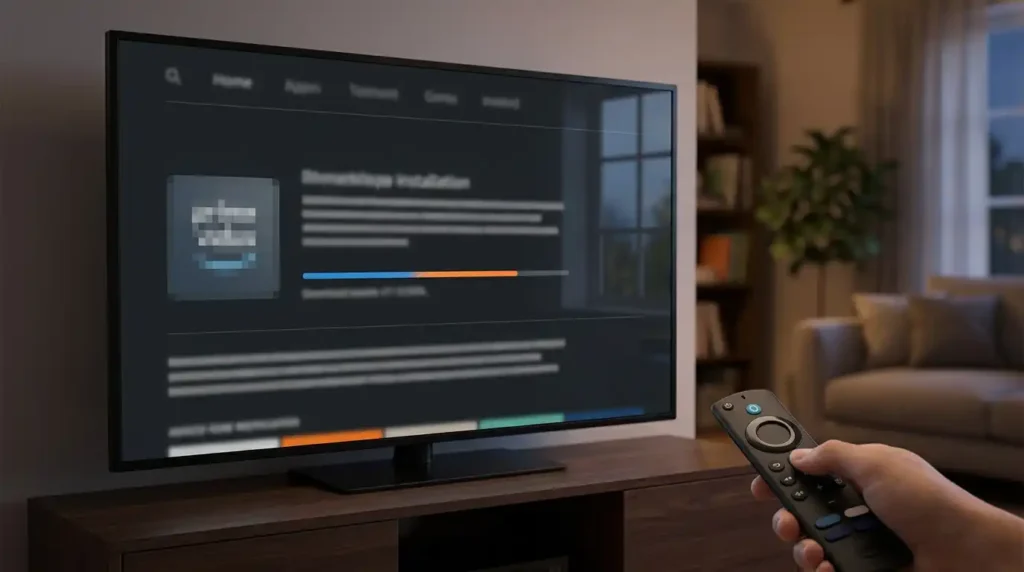
Now you need the actual app that plays IPTV channels. The two best options in 2026 are TiviMate and IPTV Smarters Pro.
TiviMate is the top choice for experienced users. It has a polished interface, full EPG (TV guide) support, catch-up TV, recording capabilities, and smooth channel switching. The free version works for basic use, but the premium version (roughly $6 per year) unlocks all features.
IPTV Smarters Pro is better for beginners. The setup wizard walks you through everything, and the interface is straightforward. It also supports multiple IPTV subscriptions within the same app, which is handy if you use more than one provider.
To install either app, open the Downloader app and type the download URL in the address bar. Your IPTV provider usually gives you this URL, or you can find the latest APK link on the app’s official website.
Downloader will fetch the file and prompt you to install it. Tap Install, wait a few seconds, and the app appears on your Firestick home screen.
If you want a tailored recommendation for which app and setup method works best with your specific device, our IPTV Setup Guide Generator creates a personalized walkthrough based on your exact hardware.
Step 4 — Add Your IPTV Subscription
Open the IPTV player app you just installed. Look for an option like “Add Playlist,” “Add Provider,” or “Login” depending on which app you’re using.
If you have Xtream Codes: Enter the server URL, your username, and your password. These three pieces of information come from your IPTV provider after you subscribe. Paste them in exactly as you received them, including any special characters.
If you have an M3U URL: Select the M3U option and paste the full playlist URL your provider gave you. This is a long web link that points to the full channel list on the provider’s server.
After entering your credentials, the app will connect to the server and load your channel list. This usually takes 15 to 30 seconds depending on the size of the channel lineup. Once loaded, you’ll see categories like Sports, Entertainment, News, Movies, and Kids.
Pick any channel and start watching. If everything loads and plays smoothly, you’re done with the basic setup.
Step 5 — Optimize Your Settings
The default settings work fine for most people, but a few tweaks improve the experience significantly.
Enable the EPG (Electronic Program Guide). Most IPTV players have an EPG section in settings where you can enter a guide URL provided by your IPTV service. Once enabled, you’ll see a familiar TV guide layout showing what’s on now and what’s coming up, just like a cable TV guide.
Set your preferred stream quality. If your internet is fast and stable, set the default quality to HD or Auto. If you notice occasional buffering, dropping to 720p reduces bandwidth usage by about 50% while still looking great on most TVs.
Adjust the buffer size. In your IPTV player’s advanced settings, look for a buffer option. Increasing the buffer to 2 to 5 seconds gives the app more time to preload content, which helps prevent mid-stream freezing.
Organize your favorites. Most IPTV channel lists have thousands of entries. Use the favorites feature to bookmark the 20 or 30 channels you actually watch. This saves you from scrolling through massive lists every time you want to switch channels.
Fixing IPTV Buffering on Firestick
Buffering is the most common frustration for IPTV on Firestick users. The stream freezes, loads for a few seconds, plays for a bit, then freezes again. Annoying, but almost always fixable.
Use a wired connection if possible. WiFi is convenient, but wired Ethernet is more stable. Amazon makes a Micro-USB to Ethernet adapter for older Firestick models, and the Fire TV Cube has a built-in Ethernet port. Switching to a wired connection fixes buffering in roughly 40% of cases on its own.
Clear the app cache regularly. Go to Settings > Applications > Manage Installed Applications > select your IPTV app > Clear Cache. Cached data builds up over time and slows performance. Do this every couple of weeks.
Restart your Firestick. Sounds too simple, but a fresh restart clears temporary memory and fixes many streaming issues. Hold the Select and Play/Pause buttons simultaneously for 5 seconds, or go to Settings > My Fire TV > Restart.
Change your DNS settings. Go to Settings > Network > select your WiFi > Advanced > change DNS to 1.1.1.1 (Cloudflare) or 8.8.8.8 (Google). These public DNS servers are often faster than the default ones your ISP provides.
Check if your ISP is throttling. Some internet providers deliberately slow down streaming traffic during peak hours. If your IPTV works fine in the morning but buffers every evening, throttling is likely the cause. Run a check with our ISP Throttling Detector to find out if your provider is limiting your speeds.
If none of these quick fixes help, run a full diagnostic with our IPTV Buffering Fix Tool to identify the exact problem and get a targeted solution.
Do You Need a VPN for IPTV on Firestick?
A VPN isn’t required, but it’s one of the smartest additions you can make to your Firestick setup.
Here’s why. Your ISP can see exactly what you stream and when you stream it. Many ISPs throttle streaming traffic during busy evening hours, which causes the buffering problems we just talked about. A VPN encrypts your connection so your ISP can’t tell you’re streaming at all, which often eliminates throttling-related buffering entirely.
Beyond that, a VPN keeps your viewing activity private. Your ISP won’t log what channels you watch or sell that data to advertisers.
NordVPN and Surfshark both have native Firestick apps that install directly from the Amazon App Store. No side-loading needed. Just search for the app, install it, connect to a server, and then open your IPTV player. The VPN runs in the background automatically.
Wondering how much speed impact a VPN might have on your connection? Our VPN Speed Impact Calculator gives you an estimate based on your current download speed.
Best IPTV Apps for Firestick in 2026
We covered TiviMate and IPTV Smarters Pro in the setup section, but here’s a broader look at the top IPTV player apps that work well on Firestick right now.
TiviMate remains the gold standard. Its EPG presentation is the best in the market, channel switching is fast, and the overall experience feels closest to what you’d get from a premium cable box. The premium unlock at roughly $6 per year is worth it if you plan to use IPTV on Firestick as your primary TV source.
IPTV Smarters Pro is the most beginner-friendly option. The layout is intuitive, setup takes about 2 minutes, and it supports both Xtream Codes and M3U formats. A solid choice if you don’t want to tinker with advanced settings.
OTT Navigator is a lesser-known player that deserves more attention. It offers deep customization, multi-panel viewing, and excellent EPG handling. The interface isn’t as polished as TiviMate, but the feature set is actually more extensive for power users.
Kodi with PVR addon is the option for people who want full control. Kodi is a free, open-source media center that supports IPTV through PVR (Personal Video Recorder) add-ons. Setup is more involved than the other options, but the flexibility is unmatched. Best for technically confident users who enjoy customizing their streaming environment.
GSE Smart IPTV works across multiple platforms including Firestick, iOS, and Android. It’s a decent middle-ground option if you want the same app on your Firestick and your iPhone. The interface feels a bit dated compared to TiviMate, but it gets the job done reliably.
For most Firestick IPTV users, TiviMate is the answer. Start there, and only explore alternatives if you have specific needs it doesn’t cover.
Frequently Asked Questions
Is IPTV on Firestick free?
The IPTV player apps are free or very low cost (TiviMate premium is about $6/year). However, you still need an IPTV subscription from a provider to access live channels and content. Subscriptions typically cost between $10 and $25 per month.
Can I use IPTV on Firestick without a VPN?
Yes, a VPN is optional. IPTV works fine without one. However, a VPN prevents ISP throttling and keeps your streaming activity private. If you experience buffering during peak evening hours, a VPN often solves the problem.
Which Firestick is best for IPTV?
The Firestick 4K offers the best balance of price and performance for most users. If WiFi stability is a concern, upgrade to the Firestick 4K Max for WiFi 6 support. The Fire TV Cube is best if you want a built-in Ethernet port and maximum processing power.
Why is my IPTV buffering on Firestick?
Common causes include slow WiFi, ISP throttling, too many devices sharing your connection, accumulated app cache, or an overloaded provider server. Start by switching to a wired Ethernet connection and clearing your app cache. Use our IPTV Buffering Fix Tool for a step-by-step diagnosis.
How many IPTV connections can I run on Firestick?
Each Firestick counts as one connection. Most IPTV subscriptions include 1 to 3 simultaneous connections. If you have multiple Firesticks in different rooms, you’ll need a plan that supports multiple connections, or separate subscriptions for each device.
Can I record shows with IPTV on Firestick?
TiviMate Premium supports local recording to USB storage if your Firestick model has a USB port (Fire TV Cube does, standard Firesticks require an OTG adapter). Many IPTV providers also offer catch-up TV, which lets you rewatch programs from the last 24 to 72 hours without recording anything.
Does Firestick support 4K IPTV?
Yes, the Firestick 4K, 4K Max, and Fire TV Cube all support 4K Ultra HD playback with HDR10+ and Dolby Vision. You’ll need a 4K TV and an internet speed of at least 50 Mbps for smooth 4K IPTV streaming.
How do I update my IPTV app on Firestick?
For side-loaded apps (not from Amazon’s store), you need to manually download and install the latest APK version using the Downloader app. For store-installed apps, updates happen automatically. Check your IPTV player’s website or your provider’s support channel for the latest version link.
Start Streaming Today
Getting IPTV on Firestick up and running is easier than most people expect. The entire process, from enabling developer options to watching your first channel, takes about 10 minutes. And once you’re set up, the experience is genuinely better than cable in almost every way. More channels, less money, and zero contracts.
If you’re still deciding whether IPTV is worth the switch, calculate your potential savings with our Cord-Cutting Savings Calculator. Most households save over $1,000 a year by dropping cable in favor of IPTV.
And if you want a setup guide customized to your exact device and skill level, our IPTV Setup Guide Generator builds one for you in seconds.
Your Firestick is ready. Your wallet will be grateful.